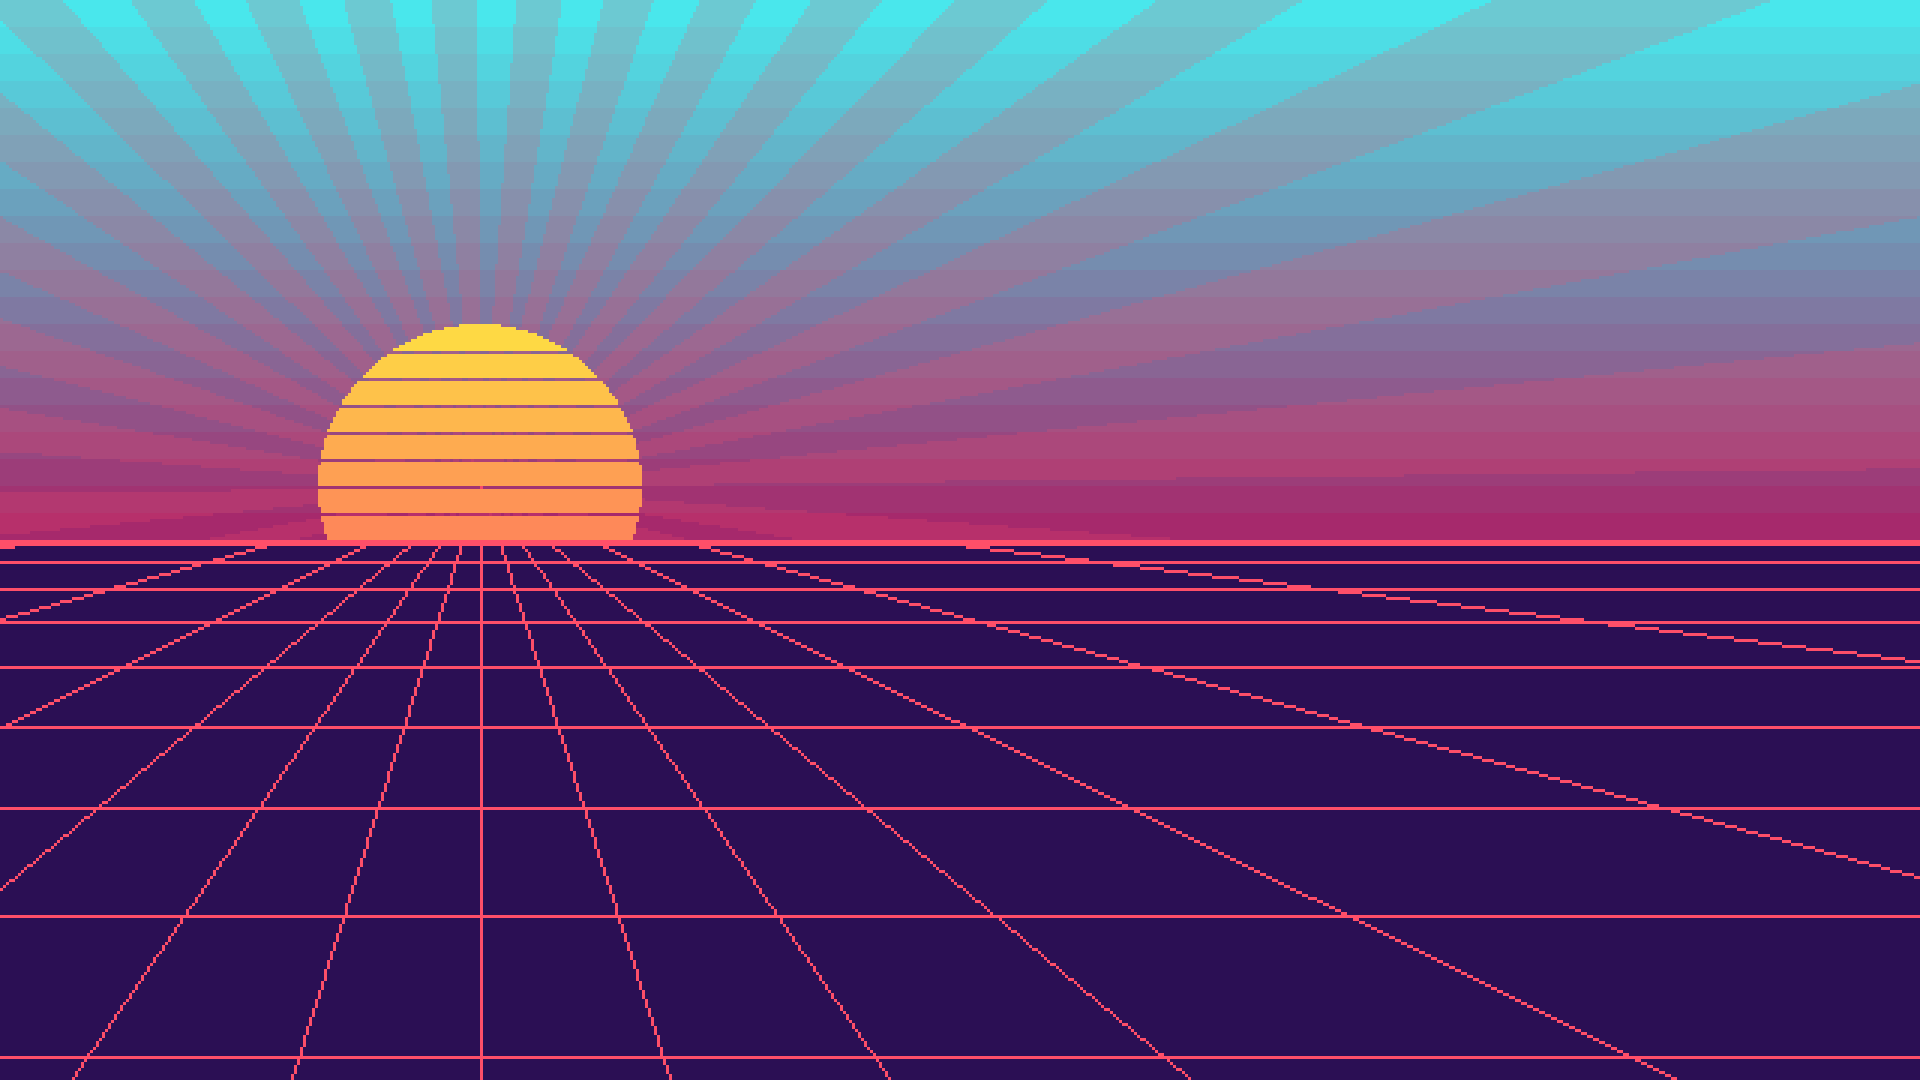
One afternoon like many others, I decided to procrastinate, and instead of following my course on algebraic topology, implement a sunset scene in pygame, with a retro look. Here is the result:
My inspiration was images like this one:

However I wanted it to be animated, and potentially make a menu out of it. Also, there is no way that I would create high resolution images using pygame, so I went for that pixel-art look.
I will try to describe my thought process will creating this, and share code at the same time. Since the process is very linear I will share only the piece that is relevant each time, will trying to be as clear as possible about were that piece of code goes.
To get a rough idea of the process, this is the structure of the drawing (what is first in the list is drawn under the rest):
- The sky gradient (
rect) - The sun rays (
polygon) - The sun is in few parts:
- its gradient (
rect) - overlaid with its shape (
line,circle)
- its gradient (
- The background of the lower part (
rect) - The vertical lines (
line) - The horizontal lines (
line).
Inside the brackets are the functions used to draw each part. Each are basic functions, but the way the are put together is the most interesting part.
The boilerplate
Every Pygame code need very few boilerplate code, but here is the main loop, to start things up. If you don’t understand the code, you should probably read a simpler tutorial about pygame.
|
|
There are still a few things to note here:
- I’m importing
pygame.gfxdrawas it is not imported by pygame by default, and allows to draw shapes with transparency. - Even if I don’t plan to change the
SIZEof the window, I still define a constant in order to avoid magic numbers in the code. I also define one letter shortcuts for the with and height because we will use them a lot. - I use
pygame.SCALEDfor the display type. This is pygame 2 only, and will scale the window by the biggest integer that it can, otherwise you would have to scale it manually. - We have a
framecounter that will be our only source of time for everything that moves. - We have a
drawfunction to implement, so let’s get to work!
Colors, position and setup
The first thing I did, you take a color palette that I liked. The easiest (and often the best) way to pick colors is to use an already existing palette. Lospec is a great place to find one.
I used the palette from starry night because I had just discovered this beautiful tileset and liked the palette…
I added the colors when I needed them, with the other constants, and named them for the first thing I used them for (why not ?).
I also used pygame.Color as it will allow us to mix them easily.
|
|
The other important things I needed were
- the position of the sun, that I called
INFINITYbecause it was also the vanishing point of the pink lines. - the height of the bands in the gradient.
|
|
The part with // BAND_HEIGHT * BAND_HEIGHT is here to make sure that the center of the sun
is always aligned with one of the bands, even when I tweak the values a bit.
Note that this setup wasn’t the first thing I’ve done, but those things usually build themselves out of need and refactorisation. I just feel like it’s better to but everything at the top when explaining so I don’t have to go back to it later.
The next parts are the definition of the draw function,
that we will split in five parts, and focus on each part at a time.
|
|
Of course, when creating it, I went the other way around, I first made a background, try to modify it so it looked as cool as possible, then added a sun, and that could have been it, but I thought about adding bands on the sun too, and finally to add sunrays. It requiered quite a lot of iterations, especially on the positions of every object, but it it impossible to show them in a tutorial, as it would be boring an uniteresting.
Plus ça rate, plus ça à de chance de réussir - Les Shadocks.
The more it fails, the more likely it is to succed - bad translation of the above proverb.
The sky
The sky had to be a gradient, so I picked two colors and needed a way to mix them.
A simple linear interpolation between the two RGB values would be enough,
and it turns out pygame.Color.lerp does exactly that!
This is a very cool function to have around
To draw the sky, I need to draw each band,
and each band is totally defined by its y
position, so the simplest way is to
iterate of the y coordinates of the rectangles
with a range.
Then we need a number between 0 and 1 to mix the
top and bottom color, that corresponds to
how far down we are. Since y in between
0 and H/2, we just divide by H/2 to
map its range to [0, 1].
Finally, we draw a full width rectangle of the right color.
|
|
Nothing too impressive, but we have a nice gradient!
I we wanted to be smooth, we can set BAND_HEIGHT to 1,
and/or draw horizontal lines instead of rectangles.

The sun
The sun is much more complex to draw, because we don’t just want a gradient, we also want make that gradient in the right shape: a circle. For this, we will process in two steps, in separate surfaces:
- First we draw the gradient on a surface, in the same way as the sky,
- Then we draw in white the shape of the sun,
- Finally we combine them.
Nothing surprising for the gradient part,
except maybe the +1 for the size: sometimes
circles have their right/bottom pixels cropped if
we only have 2 * radius pixels, because of how
pygame draws them (it put radius pixels on both sides of the center).
|
|
Now comes the fun part: we give our gradient a shape.
The main idea is to have an other surface, the mask,
where we draw each pixel that we want to see in white
and the hidden pixels in black.
At first the shape of the sun was just a white circle, but I thought that having transparent bands would look good, so I drew black lines on top of it. Remember when I said that I wanted the sun’s center to by exactly on a sky’s band ? It was to have the bands in the sun correctly aligned with the sky.
To draw this, nothing special, we use pygame.draw.circle
for the white circle and pygame.gfxdraw.hline for the
horizontal black lines. Note that we could have also
just used pygame.draw.line.
|
|
Finally, we combine everything together with the blit
function and the help of special_flags.
The special_flags argument to blit is very useful,
it tells pygame how to combine the two surfaces:
the one blit onto and the one that we blit.
When we call dest.blit(source, (0, 0)), pygame
just replaces the pixels in dest by the pixels in source,
but if we pass special_flags=pygame.BLEND_ADD, it will
add the two colors, so that bliting a red surface on
a green one will produce a yellow surface
(255, 0, 0) + (0, 255, 0) = (255, 255, 0).
Here we use the BLEND_MULT flag, which multiplies the
two values, as if 255 were 1. That means that if you
multiply a surface with one filled with grey (128, 128, 128),
it is the same as multiplying every pixel’s value by 0.5 and thus
darkening the surface. If a pixel’s value is multiplied by 0 it becomes
black and if it multiplied by 255, it doesn’t change.
That’s exactly what we want! This way, the pixels in the sun
will keep the color of the gradient, and all the other will
turn black. We can then get rid of the black by using a colorkey,
literally saying “treat all black pixels as transparent.”
Translating all this into code gives us
|
|
Finally we only need to blit the center on the display, at
the correct position. For this, we use gradient.get_rect
that allows to tell were the center is.
|
|
Ground: vertical lines
The next step is to draw the vertical lines, that all converge to he center, to create some perspective. But first, we need to have a clean background for the lower part and not have the sun that overlaps it.
We define the rectangle of the lower part
as we will need it twice, and we can
use the handy rect argument of Surface.fill().
|
|
In total, I am drawing 17 lines. Why ? I wanted the number to be odd, so that the line in the middle is vertical, and 8 lines on each sides looked good.
For each line, we know where it starts (the center of the sun), but we also need to know its angle. The simple way is to have the angle evenly distributed between 0 and \(\pi\), but it turned out it doesn’t look great (try it !). The main reason is that lines are too packed when they are almost vertical and too sparse when they go further away from the vertical.
The way I thought of doing that is to apply a sine function
somehow, because sin maps inputs values that are close to zero
further away than values that are close to \(\pm\frac{\pi}{2}\).
To handle this we are going to change the range of our number twice, ie map the range \([0, \text{lines}]\) to \([-\frac{\pi}{2}, \frac{\pi}{2}]\), so we define a function for this at the top of the file:
|
|
Now that we tackled this, we can go back to draw_vertical_lines
and for each line, we compute its angle
|
|
The first point for out line is INFINITY,
so we need to compute a second point. For this
we take the point at a distance of 1000 and the
right angle. A thousand pixel in this direction
will be sufficient to know that our segement
is big enough.
|
|
Though, this segment is a bit too big, since it goes all
the way to the center of the sun (also far outside the
screen, but this doesn’t matter much, pygame handles this well.).
Luckily, pygame has our back here. We can compute
the segment inside our second_half rectangle with
|
|
And if there is a part of the segment inside our second_half,
we draw it as you would draw any segment.
The vertical lines being done, we can now move on to the more challenging vertical lines!
Ground: horizontal lines
Drawing horizontal lines is easy, the hard part is knowing
the correct y position so that it looks good.
This took me a good hour of trial and error, to end up with
only ten lines of code.
I’ll try do do my best to explain them, but forgive me if I fail ;) The idea that worked well is to first compute the position of the very last line, the one at the bottom of the screen.
I also figured that I wanted the lines spaced exponentially.
I tried for a long time to have them follow a quadratic curve,
as I think that this is the way it works in the real world,
but it just didn’t look right.
So, I settled with an exponential of base 3/4,
this means that each line should be 3/4
closer to the horizon than the previous one.
The last point is that when I made the lines come form the horizon,
it didn’t look good, because of the low resolution, so I decided to
make them start from INFINITY and it was way better.
Let’s get into the code !
|
|
We set the height of our animation to be H - ININITY[1] because
our lines will move between those two y positions.
Here we set up the ratio between the y of our lines: prop.
We also compute the distance of the last line to the bottom of the
screen, dy. Do understand it, notice that anim_h * (1 - prop)
is exactly the distance between the last line and the one above
when the last line exactly at the bottom of the screen as it is anim_h - anim_h*prop
ie. last_line_y - line_before_y.
Now the last line is at anim_h - dy and each subsequent lines y
should be multiplied by prop. That gives us:
|
|
Notice the for n in range(100). I didn’t know exactly the number of
lines that I needed to draw, but I was sure it was less than a hundred.
When they shouldn’t be draw anymore, ie. we are not in the lower half plane, I stop drawing them. I didn’t find a better way to do it, using a while loop seem to always induce some kind of redundancy or weird ordering. If you do find a better way, tell me on discord, I’ll be happy to know !
|
|
Finally we draw a last line at the horizon because the picture was missing something without it. This part was surely not the simplest of the tutorial, so make sure to play with it, change the constants, the formulas and try to understand what happens!
The sun rays
Our scene is already quite nice, and I could have stopped here but the next day, I thought of adding some rotating sun rays.
The sun rays are just big triangles drawn with transparency. I made them 5 degrees wide and computed them from the angle of one side:
|
|
And made the angle change over time. It is divided by 7 only to give them
a pleasant speed, one degree every seven frames.
The more involved part is computing the other two points
of the triangle (the first being INFINITY).
The two point p1 and p2 need to be in the direction given by angle
and angle + span, and to make sure that the triangle covers the part
of the screen that it should, we’ll make them a thousand pixels far away in those directions.
|
|
We only need a way too convert between polar coordinates and Cartesian
and that will be the last function that we write.
For the rest, pygame handles everything for us: the triangle is way to big, but clipped to
the screen correctly, and gfxdraw handles the transparency too.
Now for the conversion from polar coordinates, we will just use the function from pygame, the only thing is, it has a weird signature, as it doesn’t return a vector, but must be called on a vector and modifies it. It’s okay, we’ll just create a vector to be modified for the occasion!
|
|
Congratulations
I was quite proud of the result and I hope you are quite proud of yourself too if you followed everything up to here! Bonus point if you’ve tinkered with the code and made your own version!
Here is my final version, feel free to share yours in the pygame community discord: https://discord.gg/ZuB2RySPRJ
The full code
|
|